DaVinci Resolve Training and Certification Programme
WEEKEND BLENDED LEARNING PROGRAM
L V Prasad College of Media Studies announces
“DaVinci Resolve Training and Certification Programme”
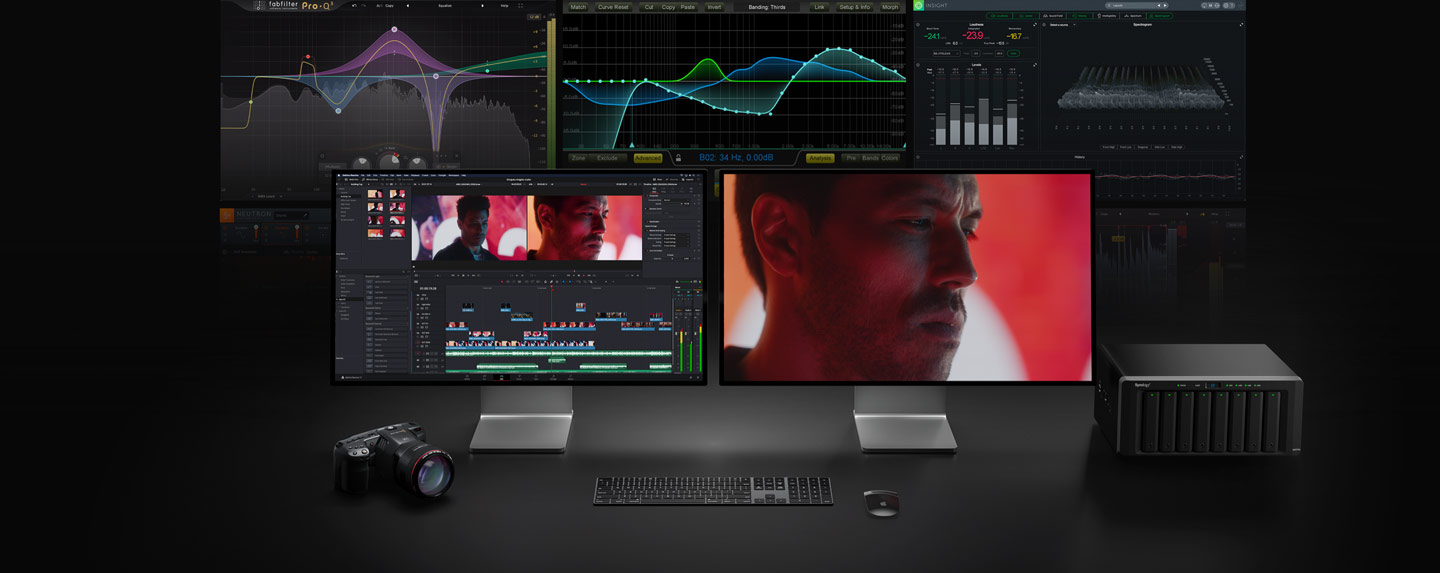
You will expand on your introductory knowledge and learn advanced color correction and editing techniques. You will gain hands-on experience with editing, grading, and mixing, and mastering deliverables for a start-to-finish workflow. With a curriculum designed for new users and established professionals alike, Blackmagic Design certified training teaches you the skills you need to be more creative, work faster, and get the job done.
Who Should Attend
- Anyone who’d like to become familiar with DaVinci Resolve software and wants to upgrade their finishing skills by using Resolve in their post-production.
Edit Preparation and Organization
- Backing Up Source Files, Syncing Audio to Video
- Modifying Clip Audio Channels, Configuring Metadata Presets
- Importing Metadata, Renaming Clips with Metadata
- Searching Using Metadata, Using Automatic Smart Bins
- Smart Bins for People (Studio Only)
- Creating Custom Smart Bins. Power Bins
- Creating Proxy Files for Editing, Saving Project Presets
Editing in the Edit Page
- Setting Up a Project, Creating Bins
- Exploring Viewing Options, Creating the First Assemble
- Trim Edit Mode, Adding Music
- Shuffle Insert Edits, Trimming to Duration
- Finessing the Edit, Audio Mixing
- Adding Transitions, Adding Fusion Titles
- Continue Cutting
Editing Interviews
- Starting the Project, Importing a “Selects” Timeline
- Using Stacked Timelines, Decomposing Timelines
- Creating Variable Speed Changes, Using Smooth Cut
- Working with Advanced Transition Tools
Cutting a Dialogue Scene
- Selecting Your Best Takes, Editing with Continuity
- Match Frame with an Offset, Finish Cutting the Scene
- Choosing from Multiple Takes, Going Beyond the Straight Cut
- Trimming On-the-Fly, Putting Yourself to the Test
- Dynamic Trim Mode
Multicamera Editing
- Starting a Multi-Camera Project, Switching Angles in the Timeline
- Editing a Multi-Camera Music Video, Real-Time Multi-Camera Editing
- Adjusting the Multi-Camera Edit, Adjusting a Multicam Clip
High-Speed Editing with the Cut Page
- Setting Up the Project, Reviewing Clips Using Source Tape
- Assembling the Soundbites, Refining the Timeline Clips
- Changing the Order of the Clips, Adding the B-Roll
- Smart Insert, Using Extra Tracks
- Trimming the B-Roll, Adding Other Camera Angles with Source Overwrite
- Using the Sync Bin with Source Overwrite
- Adding Music, Effects, and Titles
Compositing in the Edit Page
- Stabilizing the Interview, Editing to Different Video Tracks
- Creating a Compound Clip, Animating the Compound Clip
- Opening a Compound Clip, Cropping the Interview
- Creating an Animated Background, Adding Effects to a Compound Clip
- Working with Traveling Mattes, Adjustment Clips
- Using FairlightFX in the Edit Page, Render in Place
Edit Page Effects
- Setting Up the Project, 3D Keyer FX
- Transform FX, Video Collage
- Creating Tiles with Video Collage
Editing and Mixing Audio
- Preparing the Project, Balancing the Dialogue Clips
- Replacing Lines from Other Takes, Enhancing the Scene
- Panning Tracks in Acoustic Space, Adding Layers for More Atmosphere
- Creating a Radio Effect, Simplifying the Mix
- Mixing with the Mixer, Adding More Mains
- Recording Automation in Fairlight, Measuring Loudness
Delivering Projects
- Preparing the Projects, Quick Export
- Reformatting for Different Aspect Ratios, Smart Reframe (Studio Only)
- Using the Deliver Page, Exporting AAF for Pro Tools
- Adding Subtitles, Exporting with Subtitles
- Exporting Audio Tracks, Changing and Rendering Jobs from Multiple Projects
- Media Managing Timelines
Color Correcting a DaVinci Resolve Timeline 1
- Balancing Footage Opening a Resolve Archive
- Setting Up Project Backups, Understanding the Grading Workflow
- Setting Tonal Range and Contrast, Balancing Colors
- Understanding Log Controls and Primaries Wheels
- Creating Color Continuity Building a Shot-Matching Strategy
- Organizing Shots Using Flags and Filters
- Applying Shot Match, Matching Shots Using Stills
- Comparing and Matching Shots Manually
Correcting and Enhancing Isolated Areas
- Controlling the Viewer’s Eye, Sharpening Key Elements
- Tracking Obscured Objects, Fixing Overcast Skies
- Warping Color Ranges, Enhancing Skin Tones with Face Refinement
- Adjusting Skin Tones Manually
Managing Nodes and Grades Conforming an XML Timeline
- Importing an XML Timeline
- Syncing an Offline Reference
- Conforming a Timeline
- Associating HQ Footage with a Timeline for Online Workflows
- Maximizing the Dynamic Range
Mastering the Node Pipeline
- Understanding Node-Based Grade Compositing, Understanding the Importance of Node Order
- Creating Separate Processing Pipelines with a Parallel Mixer Node
- Visualizing Mixer Nodes, Compositing Color Effects with the Layer Mixer Node
Managing Grades Across Clips and Timelines
- Copying Grades from Clips and Stills, Working with Local Versions
- Appending Grades and Nodes, Saving Grades for Other Projects
- Copying Timeline Grades Using ColorTrace, Copying Grades Using the Timelines Album
- Optimizing the Grading Workflow Using Groups
- Preparing Media Using Scene Cut Detection, Creating a Group
- Applying Base Grades at the Pre-Clip Group Level
- Making Clip-Specific Adjustments at the Clip Group Level
- Automatically Tracking People and Features, Creating a Unifying Look Using the Post-Clip Group Level
- Applying Timeline-Level Grades and Effects
Adjusting Image Properties
- Understanding Timeline Resolutions and Sizing Palette Modes
- Using Keyframing, Applying Noise Reduction
- Optimizing Performance with Render Cache
Setting Up RAW Projects
- Adjusting RAW Settings at the Project Level
- Adjusting RAW Settings at the Clip Level, Grading High Dynamic Range Media
- Setting Up a Render Cache for RAW Media Projects
Delivering Projects
- Using Lightbox to Check Timelines Before Delivery, Understanding the Render Workflow and Presets
- Creating Custom Renders and Saving Presets, Configuring a Timeline for Digital Cinema
- Exploring Advanced Render Settings
Setting Up and Using the Blackmagic Design Mini Panel
- Using DaVinci Resolve Panels
64 Hours (Including practicals & project)
Online class: 52 Hours
Practical’s & Project at the campus: 12 Hours
Venue for Practical’s & Project: Chennai campus
DaVinci Resolve Professional Exam :
- 50 Random Questions, 85% Score Required to Pass to be designated a Certified End-User
- 60 Minutes to Complete Exam
- Open Book Exam
- Two attempts after your initial try (Close browser and reopen)
- There is a 6 hour wait period between exam attempts
- Exam is free
- A Digital Certificate of Achievement is emailed upon completion of an exam
Participation certificate will be provided by L V Prasad College of Media Studies
Minimum Eligibility Criteria
Students should have the following prerequisite knowledge before attending the course:
- Knowledge of basic computer navigation
- Familiar with the editing process will be an asset
2022
Weekend – 2 Hours/day – 9 AM to 11 PM
Weekend – Practical’s & Project 6 hours Saturday & 6 hours Sunday
Rs.70,800/- (inclusive of taxes). The payment has to be transferred to our bank (details given below).
Interested persons may apply online (form below) or contact us by email or by phone (+91 75500 50111 ) for any further clarifications.
Please note that fees once paid will not be refunded under any circumstances.
Bank Details
- Name: L V Prasad College of Media Studies
- Payable At Chennai
- Account No : 107711010000010
- Bank Name : Union Bank of India,
- Branch : Saligramam Branch, Chennai – 600 093
- Branch Code : 001077
- IFSC : UBIN0810771
- Enter the payment transfer details in the Application form
ONLINE REGISTRATION FORM
Disclaimer : The above course will be conducted subject to minimum enrollment of 5 students per batch. The Academy reserves the right to Postpone/Cancel, the Course / Batch without assigning any reason.

